


diy clay graphite crucible
Creating a DIY clay graphite crucible offers significant advantages for hobbyists and small-scale metalworkers. This guide provides a step-by-step process, covering material selection, construction techniques, and crucial considerations to ensure a functional and durable crucible. We'll explore the benefits of making your own crucibles, discuss common mistakes to avoid, and offer tips for optimizing your melting process.
Choosing Your Materials: The Foundation of a Successful Crucible
Clay Selection: The Heart of the Crucible
The clay you choose is paramount. Look for high-temperature clays specifically designed for ceramic applications. Fireclay is a common and readily available option; its high alumina content provides excellent heat resistance. Avoid using regular pottery clay, as it lacks the necessary thermal shock resistance. Consider the desired melting point of your project; higher melting points require clay with a correspondingly higher refractoriness. Several online retailers specialize in high-temperature clays; always check the manufacturer's specifications for maximum operating temperatures.
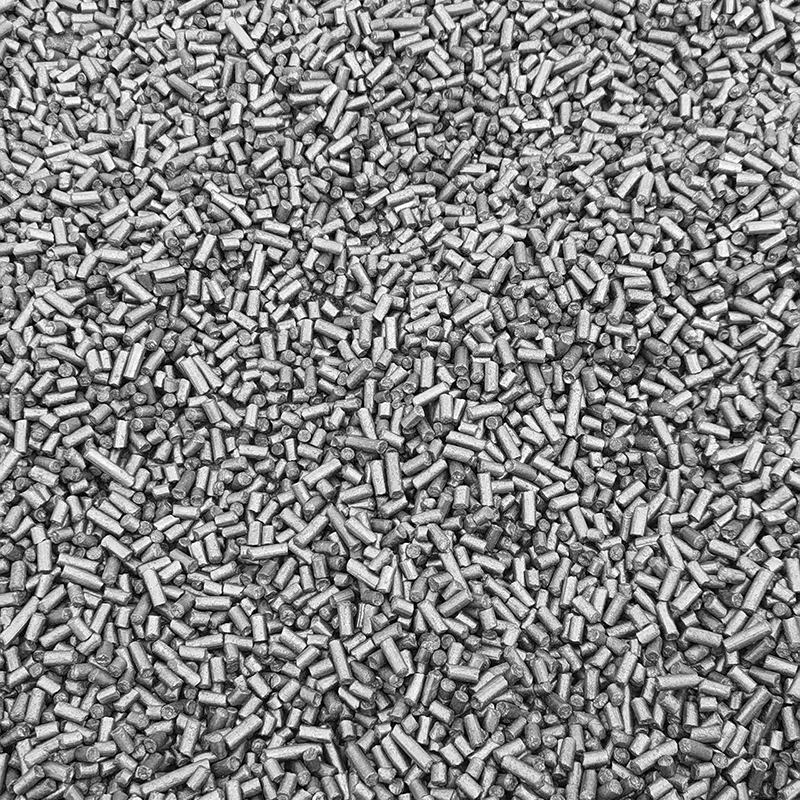
Graphite Powder: Enhancing Performance
Adding graphite powder to your clay mixture significantly enhances the crucible's thermal conductivity and durability. Graphite's high melting point and resistance to thermal shock make it an ideal additive. The precise ratio of clay to graphite will depend on the specific clay and your intended application. Experimentation is key here; start with a small batch to determine the optimal mixture for your needs. A good starting point might be a 90/10 clay-to-graphite ratio by weight. Remember to thoroughly mix the ingredients to ensure a uniform distribution of graphite throughout the clay.
Crafting Your Crucible: A Step-by-Step Guide
Preparing the Clay Mixture
Thoroughly mix the clay and graphite powder with water to create a smooth, workable paste. The consistency should be similar to that of stiff modeling clay. Avoid adding too much water, as this can weaken the final product. Knead the mixture for several minutes to ensure complete homogeneity and to remove any air bubbles. Air bubbles can cause cracks and weaken the crucible during firing.
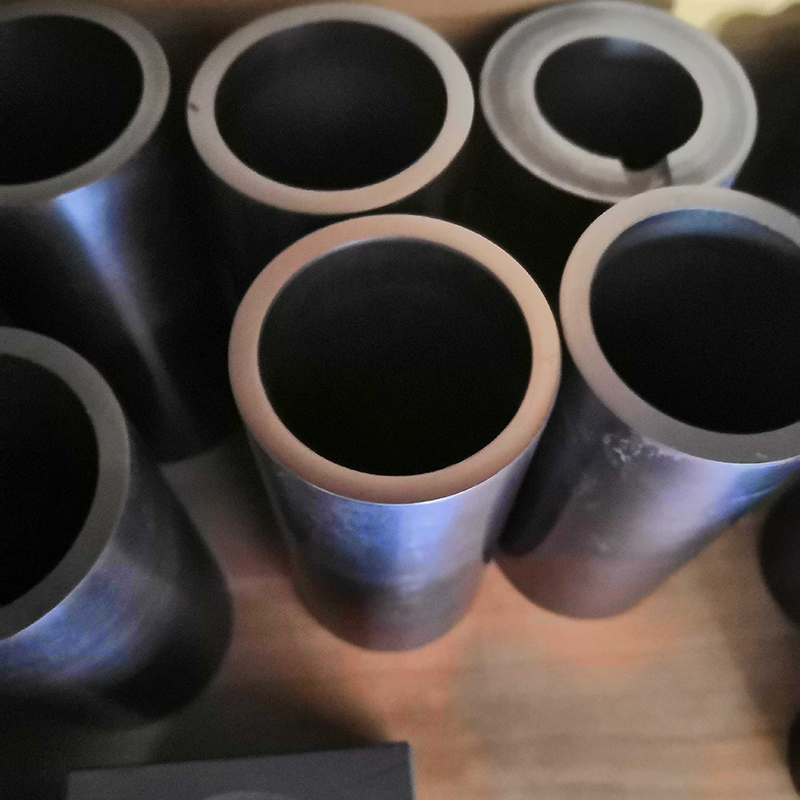
Molding the Crucible: Shaping Your Creation
You can mold the DIY clay graphite crucible using various methods. A simple approach involves shaping the clay by hand around a pre-made form (e.g., a wooden or metal mold). Alternatively, you can use a pottery wheel for a more precise and uniform shape. Ensure the walls of the crucible are of uniform thickness to prevent uneven heating and cracking during use. The thickness should be sufficient to withstand the high temperatures involved in melting metals. A thickness of approximately ? inch to ? inch is generally recommended.
Drying and Firing: The Crucial Final Steps
Allow the molded crucible to air dry slowly and completely. Rapid drying can cause cracking. Once dry, fire the crucible in a kiln or high-temperature furnace. The firing temperature will depend on the type of clay used; consult the manufacturer's instructions for the appropriate firing temperature and schedule. A slow, controlled firing cycle minimizes the risk of cracking. After firing, allow the crucible to cool slowly to room temperature before use.
Optimizing Your Crucible: Tips and Tricks
Surface Treatment: Enhancing Durability
Consider applying a high-temperature sealant to the inner surface of the crucible after firing. This can enhance its resistance to chemical attack and extend its lifespan. Several commercially available sealants are specifically designed for this purpose. Always follow the manufacturer’s instructions regarding application and curing times. Properly prepared crucibles will significantly extend their lifespan.
Handling and Usage: Considerations for Safe Operation
Always use appropriate safety precautions when handling and using your DIY clay graphite crucible, including safety glasses and heat-resistant gloves. Avoid sudden temperature changes which can cause cracking. Allow the crucible to reach room temperature before handling. Inspect the crucible for cracks before each use.
Frequently Asked Questions
How long will a homemade crucible last?
The lifespan of a homemade crucible depends on several factors, including the quality of the materials, the firing temperature, and the usage conditions. With proper care, a well-made crucible can last for multiple uses. However, expect some gradual wear and tear with repeated use at high temperatures.
Can I use a homemade crucible for all metals?
The suitability of a homemade crucible depends on the melting point of the metal and the refractory properties of the clay and graphite mixture. Consult reference materials for metal melting points and clay properties before using it for any given material.
Remember to always prioritize safety when working with high temperatures and molten materials. Consult safety guidelines and resources to ensure safe operation.
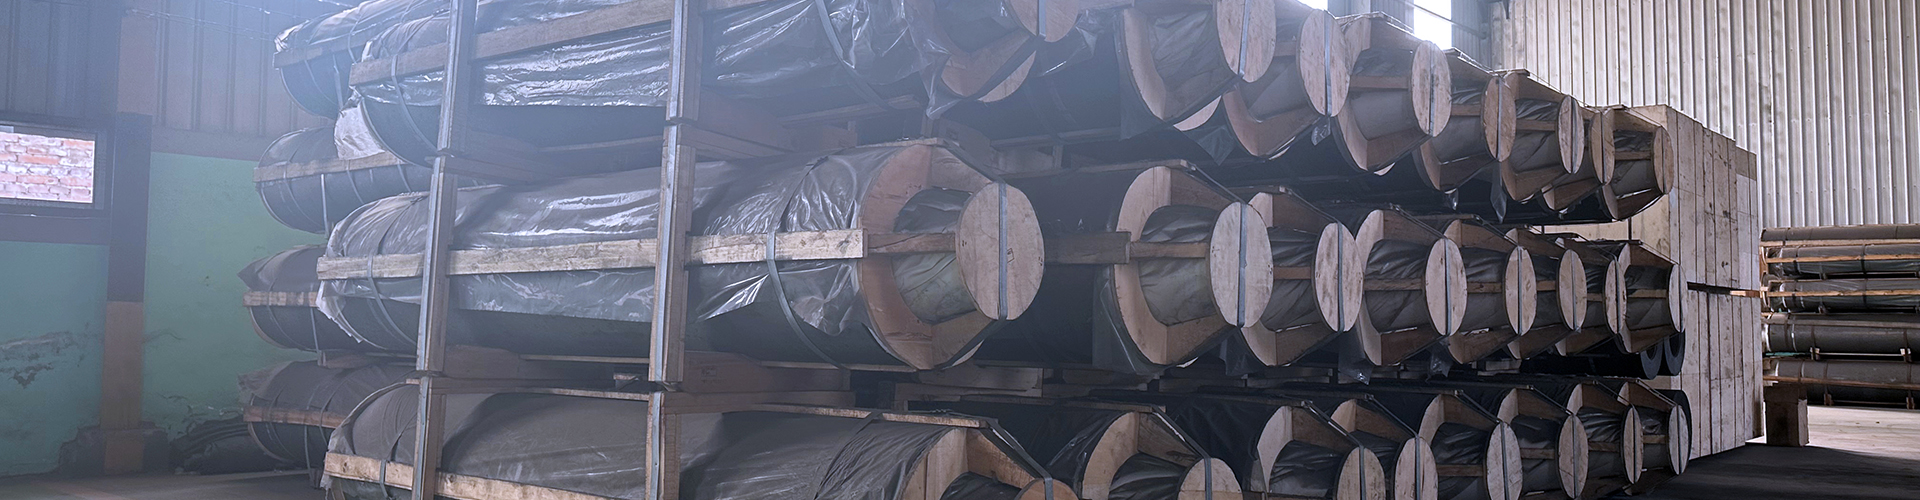
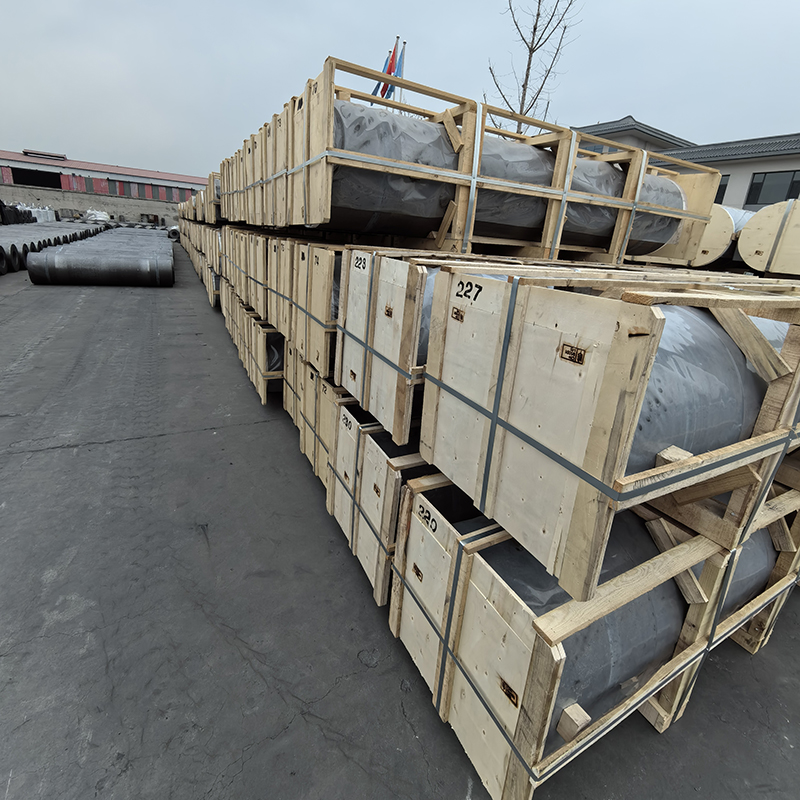
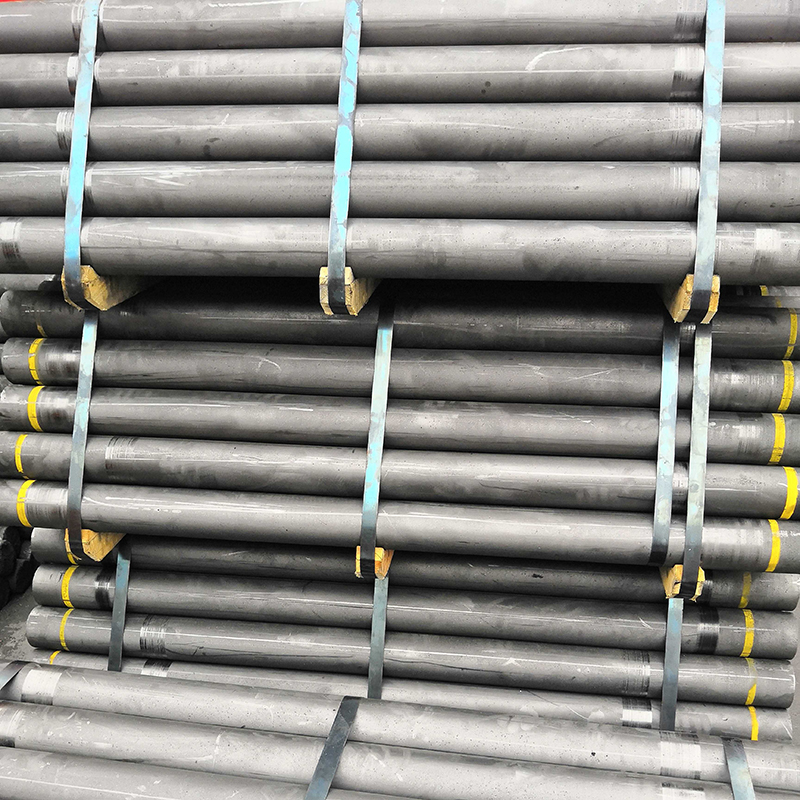
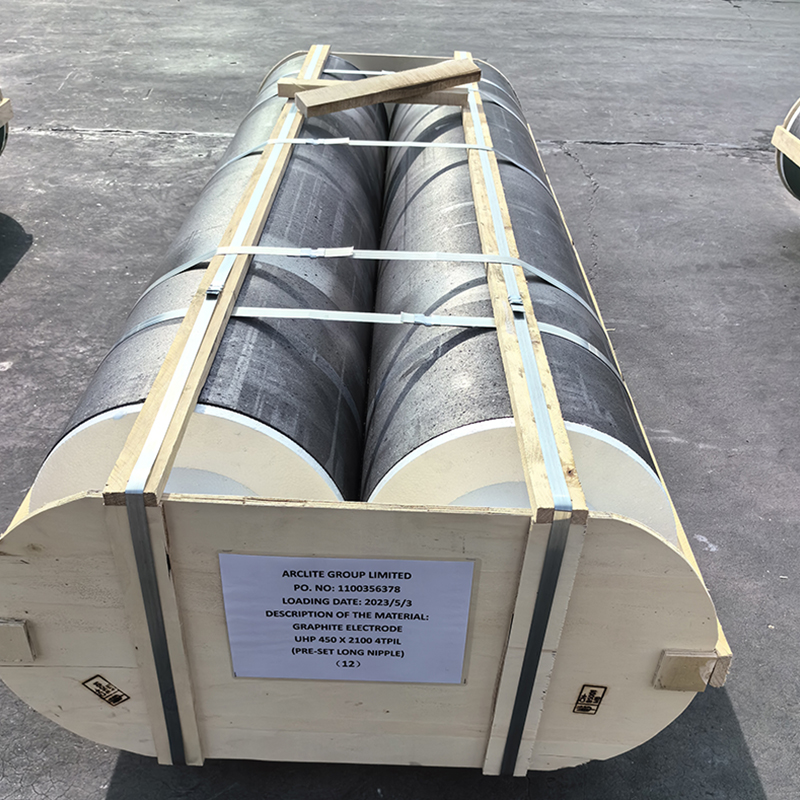
For high-quality graphite materials and related products, please visit Hebei Yaofa Carbon Co., Ltd.
Related products
Related products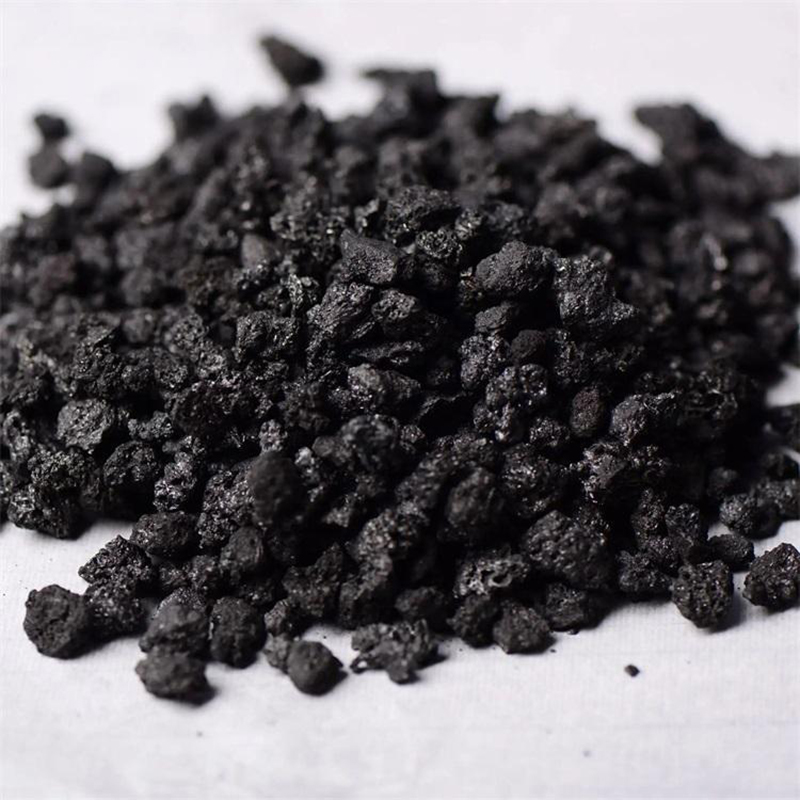


Best selling products
Best selling productsRelated search
Related search- graphite electrode manufacturers in world
- graphite crucible for sale factory
- pan graphite felt supplier
- Graphite electrode manufacturer supplier
- Electrode powder supplier
- Buy Graphite recarburizer
- China pyrolytic graphite plate
- China melting graphite crucible
- large graphite crucible Manufacturer
- Buy 5 kg graphite crucible