


diy graphite crucible
Learn how to make your own DIY graphite crucible for melting metals and other high-temperature applications. This guide covers materials, tools, techniques, and safety precautions for a successful project.
Choosing the Right Graphite
The quality of graphite significantly impacts the performance and longevity of your DIY graphite crucible. High-purity graphite is crucial for avoiding contamination of your molten material. Consider the intended application; higher-temperature applications will require graphite with a higher purity and density. You can find suitable graphite from various suppliers specializing in industrial materials. Remember, the purity and type of graphite will influence the final product and its ability to withstand high temperatures. For instance, the graphite from Hebei Yaofa Carbon Co., Ltd. (https://www.yaofatansu.com/) is known for its high quality and consistent performance, though you should always check their specifications to ensure suitability for your specific project.
Tools and Materials
Essential Materials
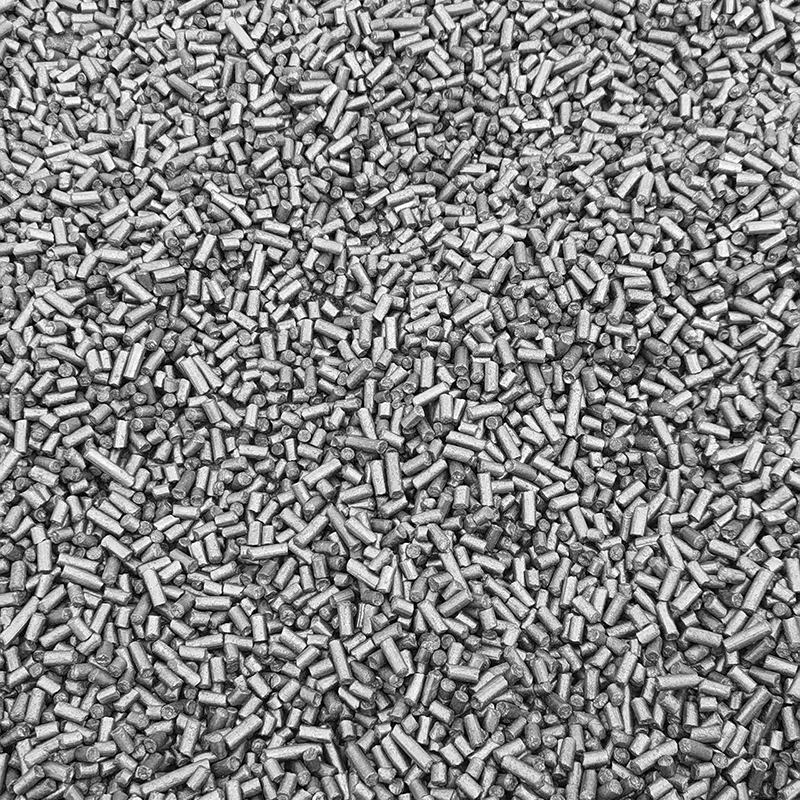
- High-purity graphite blocks or sheets
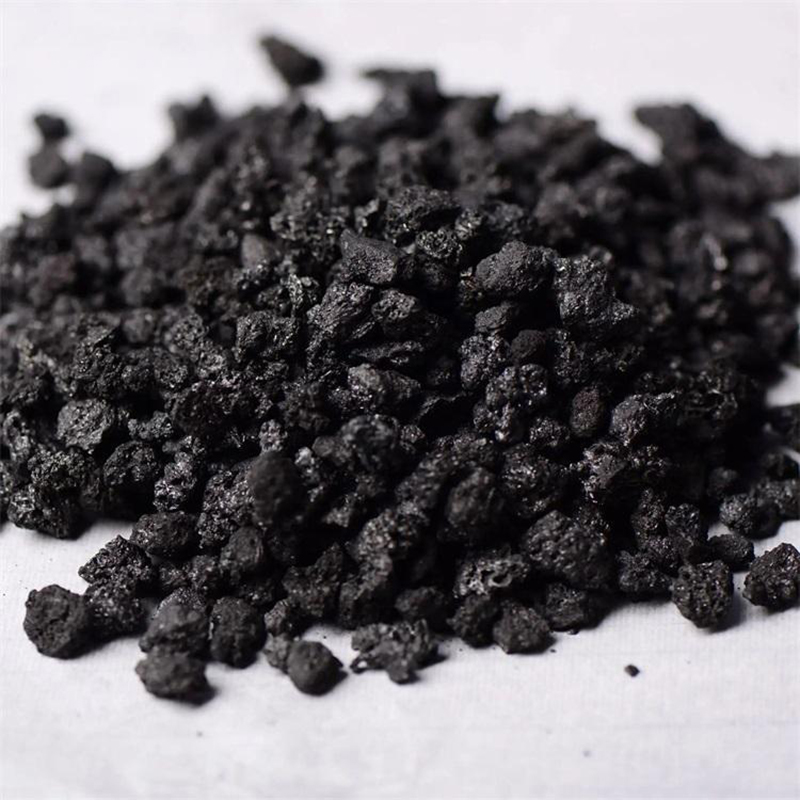
- Graphite powder (for patching or creating a mold)
- Refractory clay (optional, for added strength and insulation)
Essential Tools
- Drill with various sized drill bits
- Files (various shapes and sizes)
- Sandpaper (various grits)
- Measuring tools (ruler, calipers)
- Safety glasses and gloves
- Optional: A lathe (for more precise shaping)
Crafting Your Crucible: Step-by-Step Guide
The specific method for creating your DIY graphite crucible will depend on your chosen design and the tools available. Below are some common approaches:
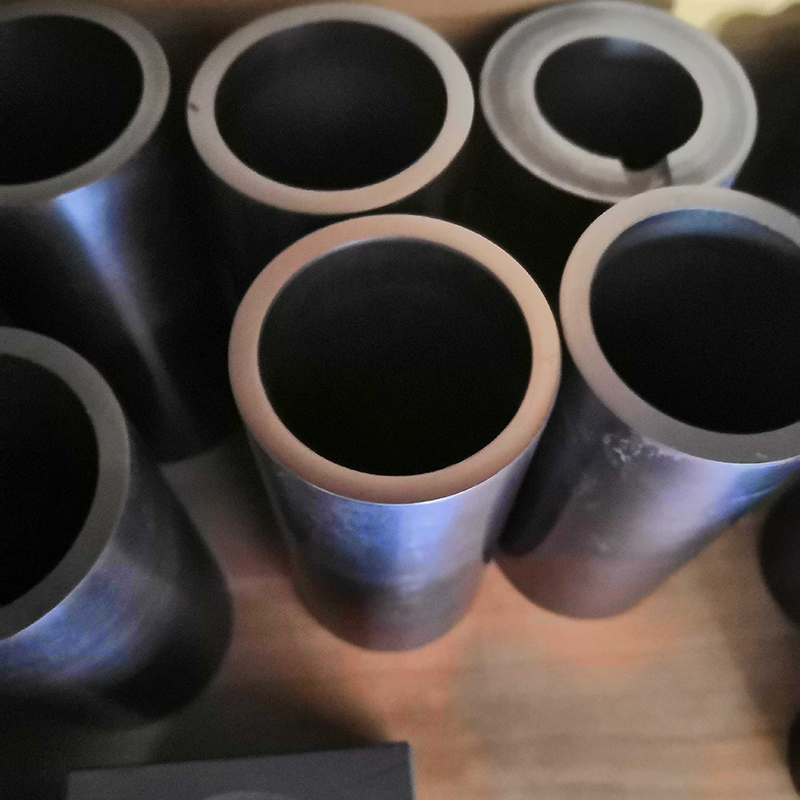
Method 1: Carving from a Graphite Block
This method is best for simple crucible designs. Using the measurements you have determined, carefully carve and shape the graphite block with files and sandpaper. Pay close attention to creating a uniform thickness and smooth inner walls to prevent cracking during use.
Method 2: Using a Mold
For more complex shapes, consider creating a mold from refractory clay. Form the clay into the desired crucible shape, then carefully pack graphite powder into the mold. After drying and firing the mold (according to the clay manufacturer’s instructions), remove the clay to reveal your DIY graphite crucible. This technique requires careful attention to detail to ensure the graphite powder adheres properly and the clay mold can be removed without damage.
Safety Precautions
Working with graphite and high temperatures requires careful attention to safety. Always wear safety glasses and gloves. Ensure adequate ventilation when working with graphite dust. Never overheat the crucible beyond its rated temperature to avoid cracking or failure.
Troubleshooting Common Issues
Cracking is a common problem with DIY graphite crucibles. This often stems from rapid temperature changes or uneven heating. Preheating the crucible gradually can help mitigate this issue.
Conclusion
Creating your own DIY graphite crucible can be a rewarding project, allowing for customized designs and greater control over your metalworking or other high-temperature processes. Remember to prioritize safety and carefully select your materials for optimal results. Always refer to the safety guidelines of your specific tools and materials.
| Graphite Type | Melting Point (°C) | Suitable Applications |
|---|---|---|
| High-Purity Graphite | >3000 | Metal smelting, high-temperature experiments |
| Standard Graphite | ~2500 | Lower temperature applications |
Disclaimer: This information is for educational purposes only. Always follow safety guidelines and consult relevant material safety data sheets (MSDS) before undertaking any DIY project.
Related products
Related products

Best selling products
Best selling productsRelated search
Related search- coal tar oil uses
- rayon based graphite felt Manufacturer
- Buy coal tar oil
- preparing a graphite crucible supplier
- Buy coal tar pitch uses
- Buy coal tar is
- graphite crucible near me Manufacturer
- graphite electrode price per kg supplier
- Buy hp 100mm graphite electrode
- graphite crucible for gold melting Manufacturer